A
Bridge Too Far
Back
to Spunkybass Place
The gallant 6th Fallschirmjaeger Rgt, Brandenburg Imperial Guard, has
made a daring airborne assault and taken Arnhemum Minor, the town
controlling the last bridge crossing the Rine River. The plan was to
hold the town for 1 day before elements of XXX Corps, spearheaded by
the 7th Panzer and Sovetskii tank regiments, arrives.
However, things have gone wrong, and the intrepid troopers of 6FJ have
held out for 6 days without relief or supplies. All accompanying
Sentinels, the only armor dropped with them, have either been destroyed
or disabled. Mortar crews have been pressed into line rifle duties as
mortar ammunition has long been exhausted.
The forces of Chaos have given the 6FJ such a pounding that the
regiment is now broken into small pockets of resistance. The most
important of these is 3rd Company, holding Arnhemum Minor itself. Under
the glorious command of Captain Acker, the indomitable droptroopers
have set up a strong defensive parameter in the town.
Time is running out for these droptroopers. 7th Panzer and the
Sovetskii tank regiments must reach them before all is lost.
FORCES:
The Imperium:
3rd Company, 6th Fallschirmjaeger Rgt (1500pts)
4th Company, 7th Panzer Rgt (1500pts)
Sovetskii Guards Tank Rgt (1500pts)
Chaos:
Lord Airnul' s Slaanesh (1500pts)
Lord Sleem's Nurgle (1500pts)
Lord Harreth's Slaanesh daemon bomb (1500pts)
SPECIAL RULES:
Dawn attack, deep strike, inflitration, reserves, special game length
(see below)
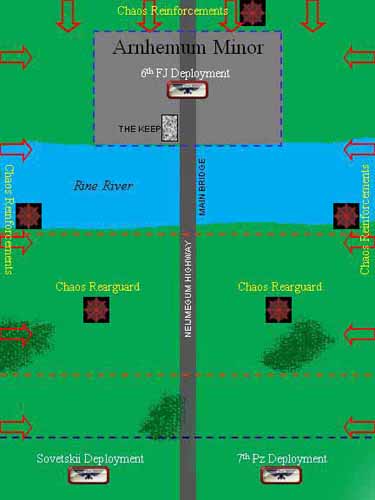
OBJECTIVE:
The side holding THE KEEP with at least one scoring unit entirely on
the building, and with no enemy units entirely on the building at the
end of the game wins.
All other results is a draw.
TERRAIN NOTES:
Arnhemum Minor is made up of buildings, Class 3, 4+ save. The bridge
itself, while large, is only Class 2, 5+ save, owing to the fact of its
lattice construction. All other terrain cover gives 5+ save.
THE KEEP is accessible only via the stairways modeled on the building.
It is not accessible to tracked vehicles. Of course, jump pack troops
may ignore this.
The River Rine is
impassable to all vehicles except Chimera and Land Raiders. Obviously,
skimmers may ignore it. For infantry, the Rine is considered as very
difficult terrain - roll 1 die instead of 2 to determine movement.
DEPLOYMENT:
Forces of the Imperium must deploy all its models, except for
infiltrators and units arriving via deep strike, in the areas indicated
on the map - 6FJ in the town, Sovetskii and 7th Panzer no more than 12"
from the short board edge farthest from the town.
Forces of Chaos then must deploy a single troop choice in the area
indicated on the map - south of the river, and 12" away from the
armored companies' deployment area. All other units are placed in
reserves and may come onto the table as per the reserve rules. Chaos
reserves may arrive via the three table sides as indicated on the map.
The Forces of the Imperium take first turn.
GAME LENGTH:
7 turns, +3 variable (at the end of each turn starting on turn 7, roll
a die. On a 4+ there is a next turn)
LINE OF RETREAT:
The armored company units fall back towards the short table edge near
their starting positions.
The 6FJ fall back towards THE KEEP. Once a model in a retreating unit
touches THE KEEP and the unit still has not rallied, the unit is
removed from the game. This represents a total dispersion of the unit
as stragglers aid their wounded comrades, desertion, etc.
Chaos forces, if they ever need to retreat, do so towards the nearest
table edge.
The view from the north. The 6FJ droptroopers dig in as best as they
can.
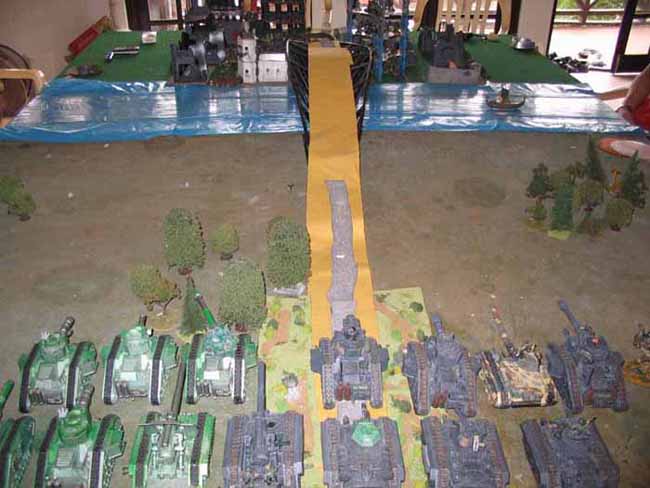
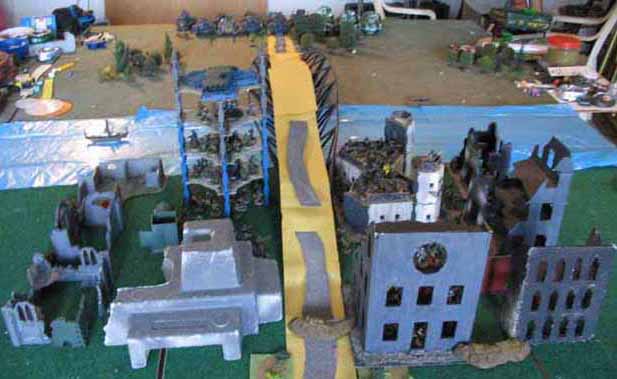
The view from the south. The road to Arnhemum appears deceptively short
for the crews of XXX Corps armor.

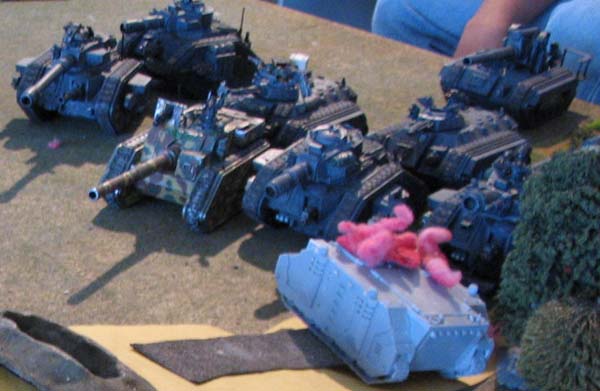
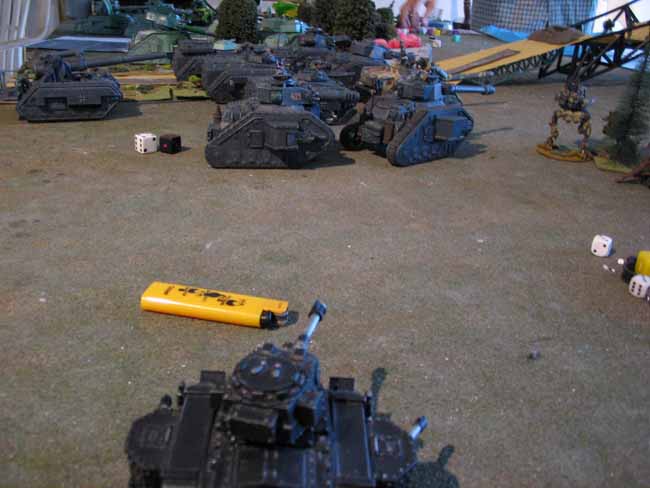
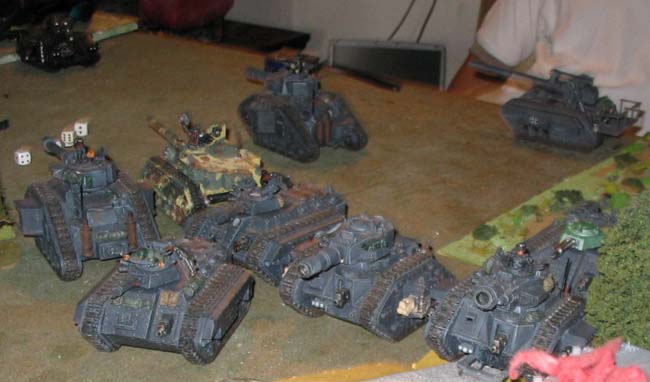
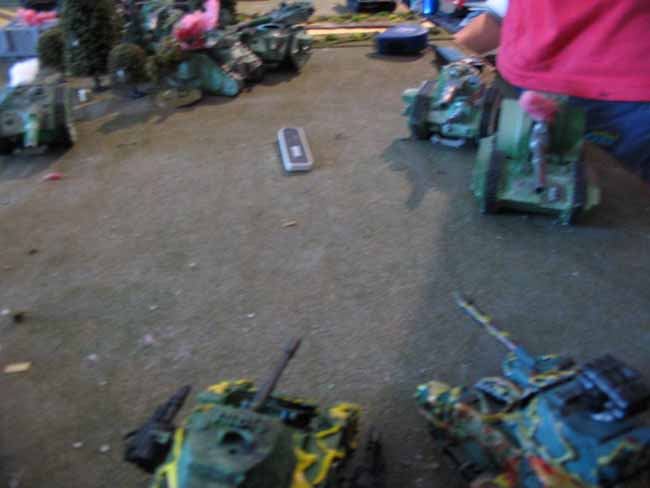
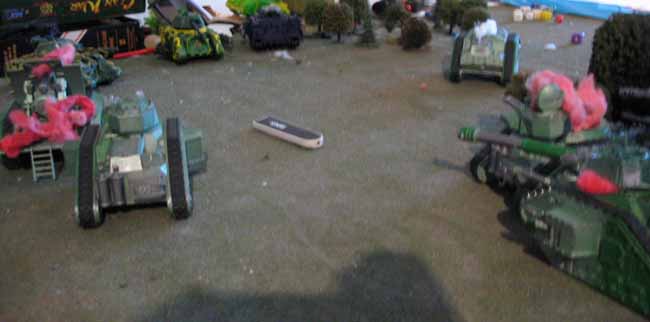
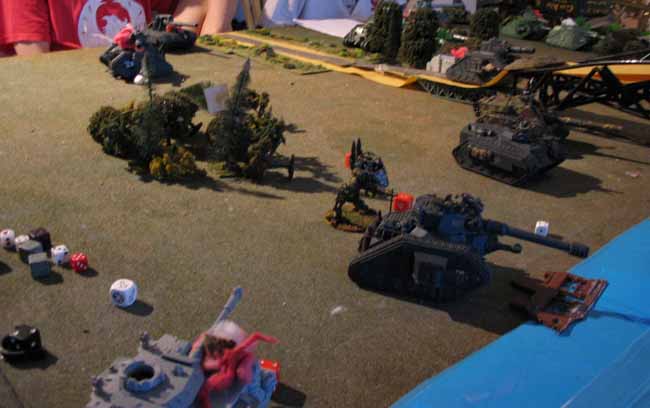
Tip of the XXX Corps spearhead, 7th Panzer and the Sovetskii Guards
Tank Rgt, make ready for the final push on Arnhemum.
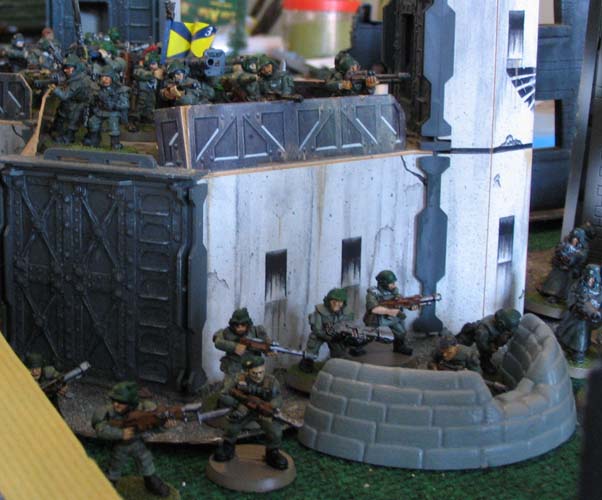
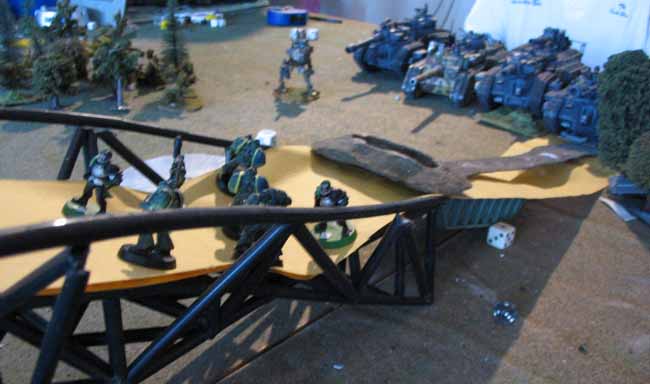
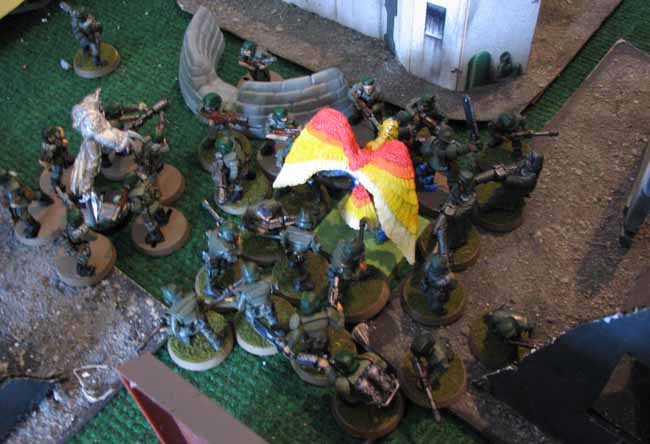
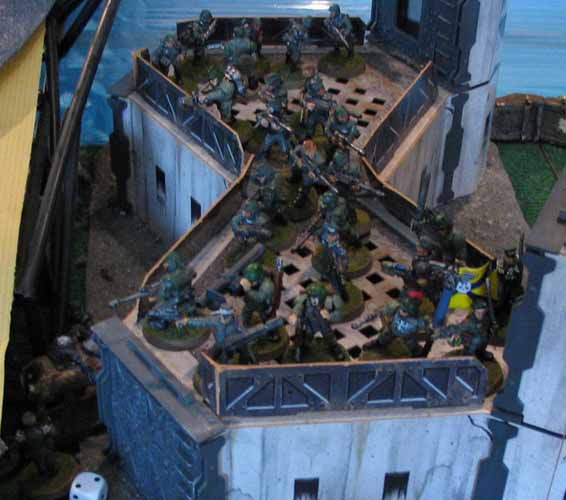
In the town itself, 6FJ droptroopers prepare their defenses in
concentric rings, seen here from the west.
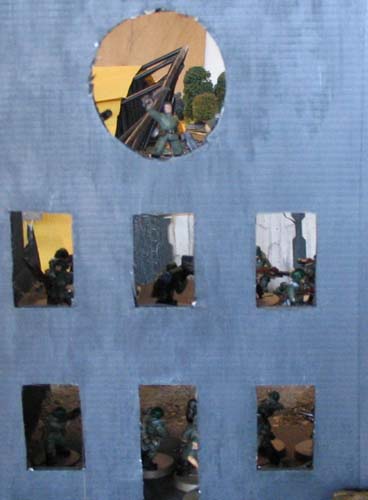
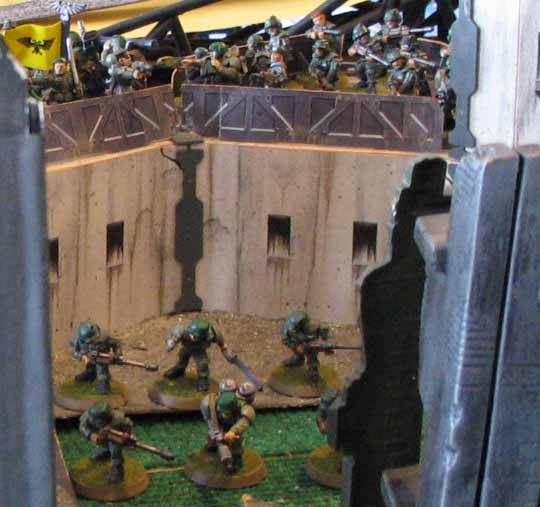
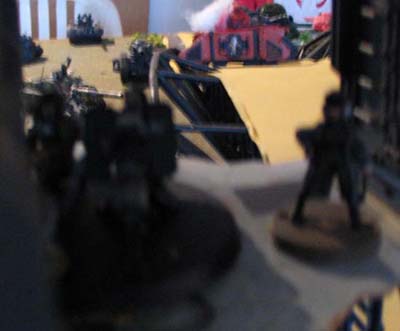
The ill-fated 3rd platoon can be seen here manning defenses overlooking
the main road from enemy lines.

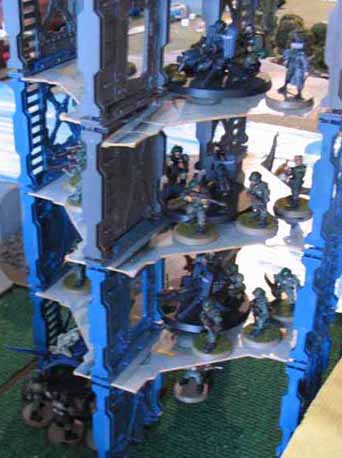
The heroic 5th (anti-tank) platoon holds the tower, while 1st Platoon
is deployed below. To the left of 1st Platoon is 2nd Special Weapons
Team.

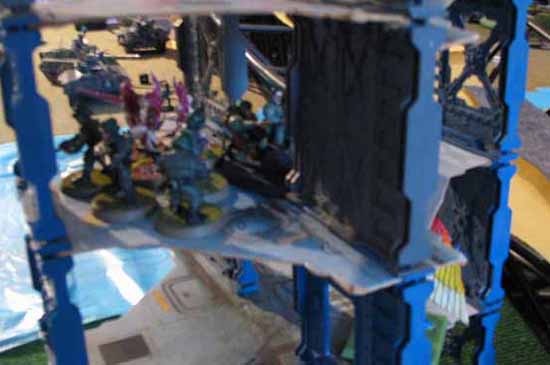
2nd Platoon is deployed in front of the Keep.

Captain Acker's HQ and 4th Platoon hold the Keep itself. To the left
can be seen the Company's Veteran squad, held in reserve.
Concentrated defense: Captain Acker's HQ is surrounded by elements of
2nd & 4th platoons.
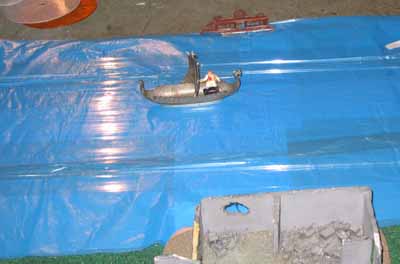
Renowned Cabal News Network journalist Kristanus Amanporr covers the
events from the river.
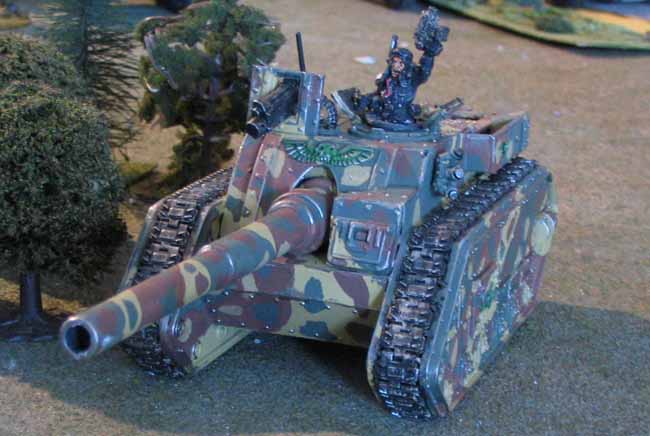
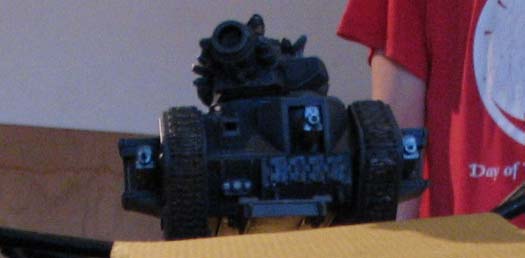
StuG IIIG assault gun employed by the Brandenburgers. The heavy
firepower was to prove useful. (closed-top,
side skirts, direct fire Basilisk)
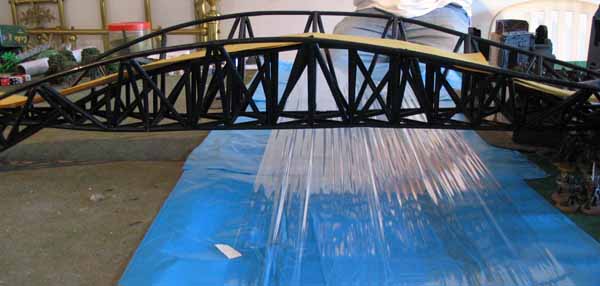
The bridge itself. Capture of this vital bridge would mean a quick end
to the war.
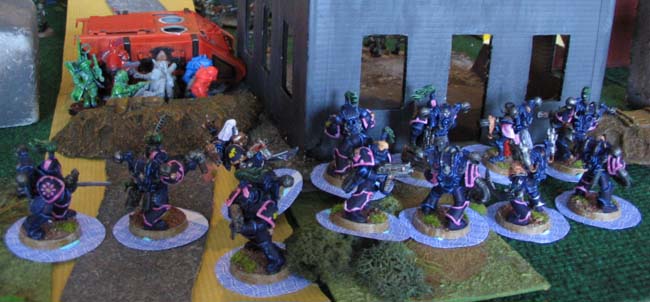
Under cover of the night, Plague Marines and their Rhino block XXX
Corps path.
Noise Marines support their nurgle brethren in actions designed to
delay XXX Corps' advance.
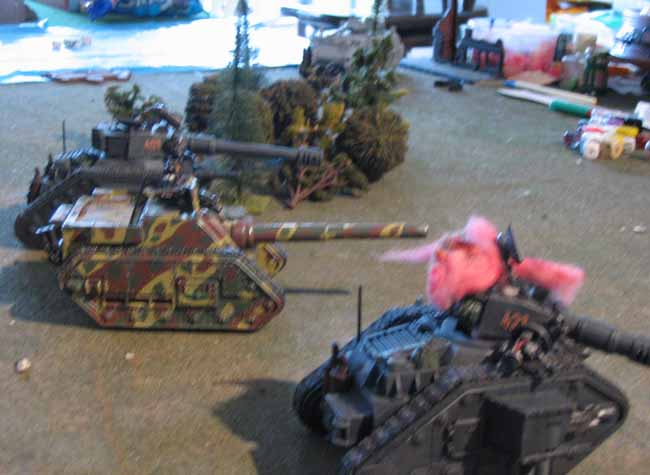
XXX Corps rolls forward. A shell from 7th Panzer vaporizes the Nurgle
Rhino. Things are looking up for the Imperium.
The Noise Marine rearguard were cut down by a deluge of heavy bolter
fire. But 2 meltagunners survived.
The surviving meltagunners knock out the turret of the Sovetskii
commander's Vanquisher.
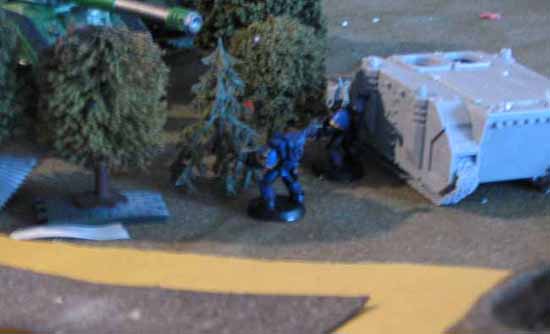
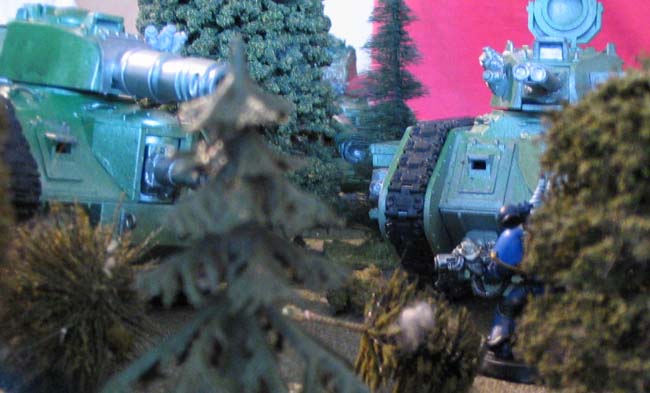
Plague Marines take aim at the 7th Panzer Sentinel. Miraculously, the
scout vehicle survived the hail of bolter shells.
In a desperate bid to delay the advance, the Slaanesh Rhino sacrifices
itself on the highway.
The Slaanesh rearguard finally succumbs to the Sovetskii armored
onslought.

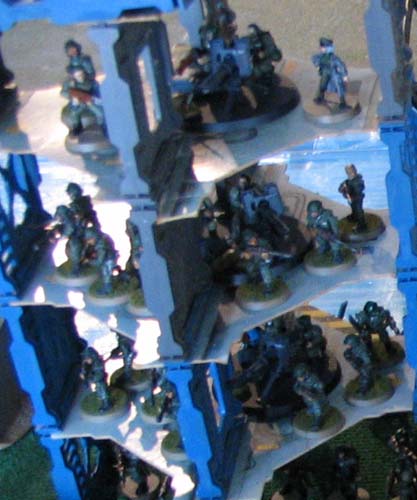
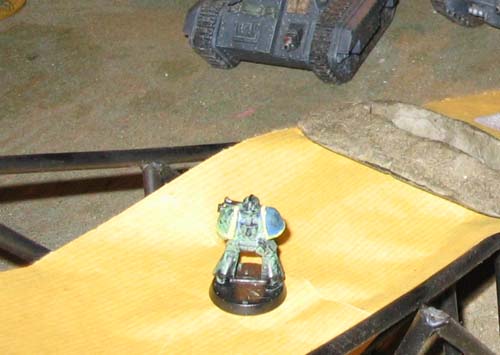
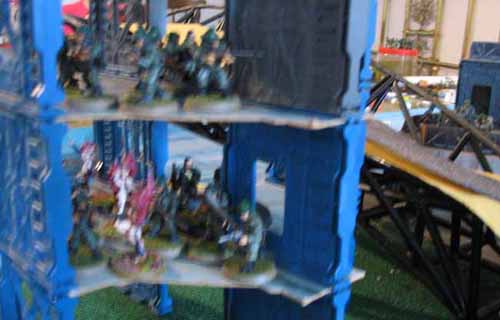
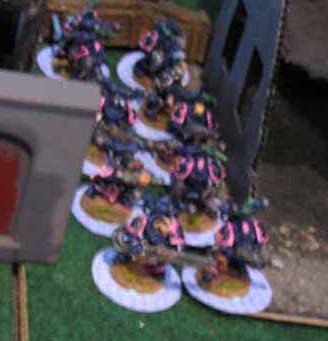
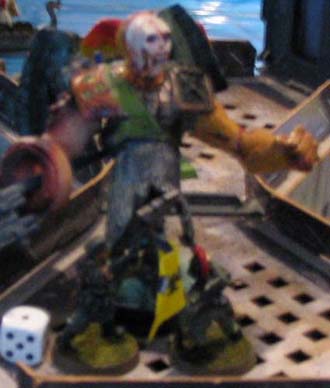
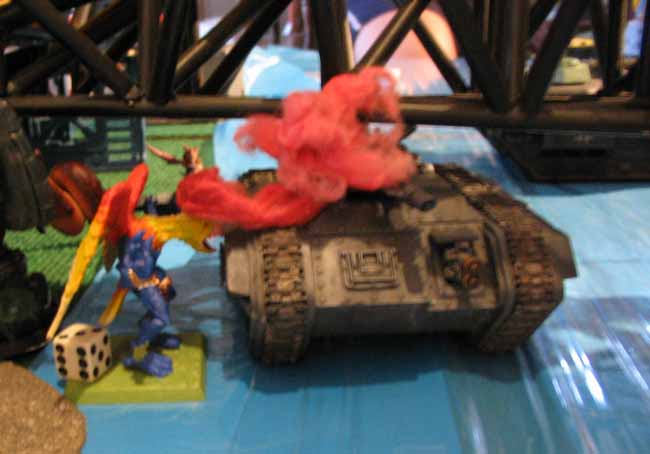
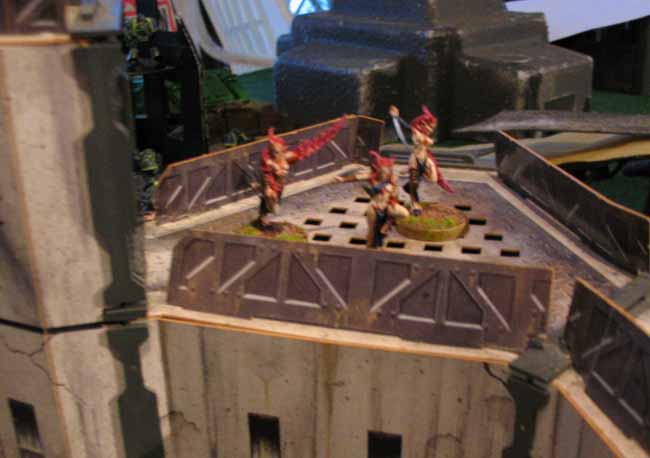
Meanwhile, foul daemons on steeds appear in Arnhemum, and sweep up the
droptroopers' flank.
To the north, a Chaos Rhino unloads a pack of Plague Marines, while
Slaaneshi terminators march forward. 3rd platoon never stood a chance.
On the Chaos right, Lord Airnul and his trusty lieutenant swoop in for
the kill.
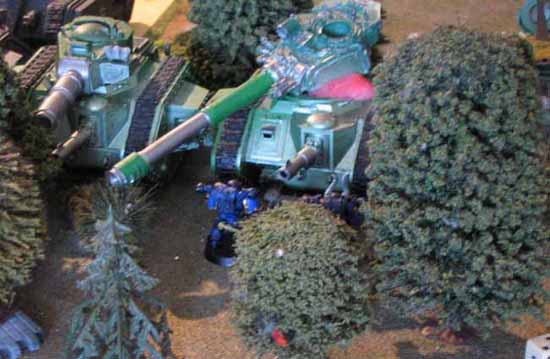
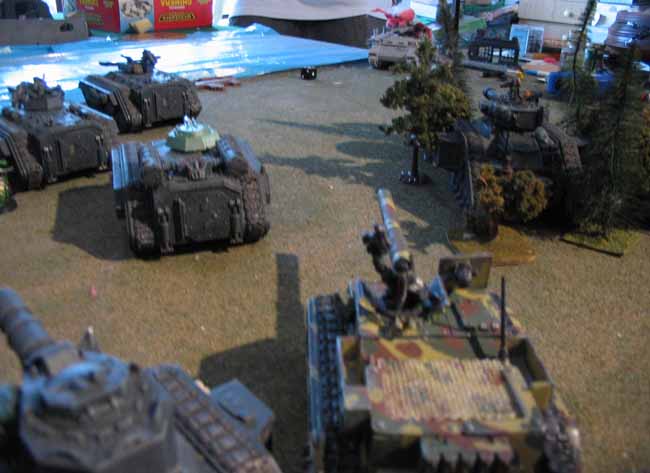
Nurgle Predators arrive on the Sovetskii flank. Though greatly
outnumbered, the Chaos tanks
outclassed their Imperium equivalents and
effectivel stopped the Sovetskii advance.
Slaanesh Predator arrives on the 7th Panzer flank. The Slaanesh armored
flank attacks were not as successful as that of Nurgle.
5th (anti-tank platoon) held out the longest, and was assaulted from
early in the battle.
Here, daemonettes on steeds had assaulted the
ground floor of their position, held by 1st platoon.
Lord Airnul narrowly escapes death as the entire 2nd platoon locks into
close combat with him. His lieutenant fairs much better.
7th Panzer refusing flank to meet the Slaanesh armored threat.
The Chaos rearguard survives just long enough for their flanking
armored attacks to arrive.
The lone Plague Marine seen above was to survive
further.

Nurgle Predators continue to plague the Sovetskii armor, who have
diverted significant resources to deal with the threat.
The lone survivor of the Nurgle rearguard proves to be
disproportionately damaging as his bolter shells
destroy the Laser
Destroyer's energy housing, thus disabling the tank's main gun.
Though less successful, the Slaanesh armored flanking attack can be
seen here causing damage, knocking out a 7th Panzer Leman Russ.
Another view of the Nurgle armored attack, this time showing the extent
of the damage they are causing.
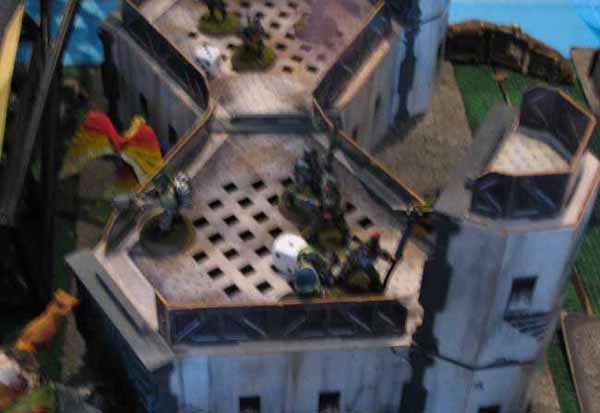
The defenders of the Keep brace themselves as the concentric defenses
are overwhelmed. The hardened veterans
held in reserve were struck by
Lord Harreth's lightning charge.
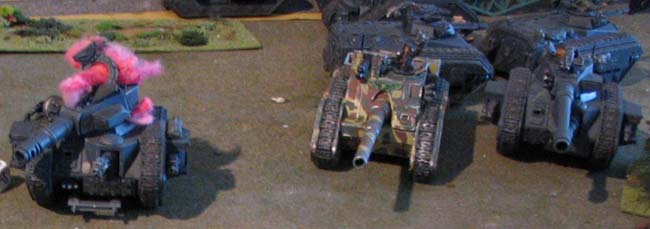
Just as 7th Panzer tanks were gaining the upper hand against the first
wave of Slaanesh flank attacks, another Predator arrives
(in top
background). Note the high effectiveness of 7th Panzer's newer ambush
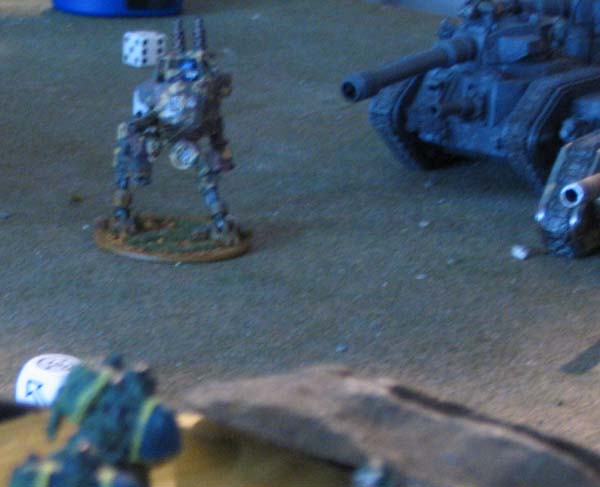
camo scheme - can you spot the Sentinel in the woods?
The Sentinel in question. It was trying to sneak up the enemy
Predator's weaker side armor.
The already blunted Sovetskii attack faced yet another threat - a
Predator from Lord Harreth's war host.
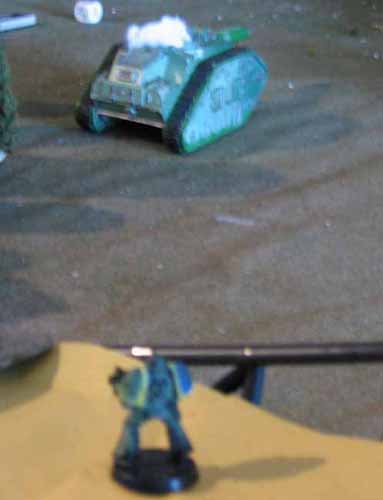
Daemonettes enter the 1st floor of the complex held by 5th Platoon.
7th Panzer neutralizes the Slaanesh flanking manouver and presses
forward towards their objective. The damage had been done though.
The
delay caused by the attacks was great. Seen here, amphibious Chimera
loaded with elite panzergrenadiers push forward towards the Rine River.

The last Plague Marine rearguard finally falls, but not after causing
great delay to XXX Corps.

Meanwhile at the Keep, despite the undivided attention of 4th platoon
and Captain Acker's HQ, the Plague Marine flamer stands his ground.
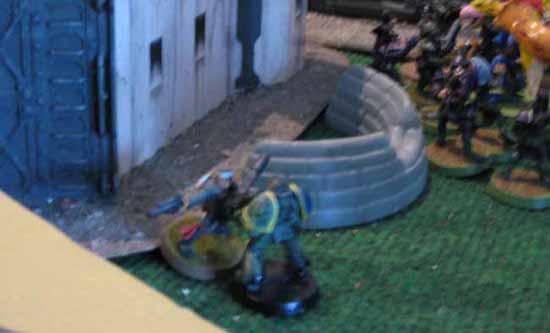
In great act of sacrifice for the Imperium, the lone meltagunner
charges the foul Plauge Marine flamer.

The Plague Marine and his Lord approach the Keep. By this time, 3rd
Company 6FJ was down to 40 men.
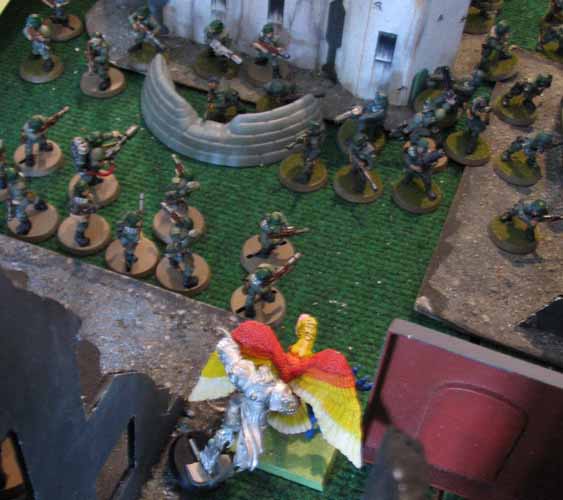
The defense of the town had all but crumbled. Here, Slaanesh
terminators march into town unopposed.
Captain Acker fights on valiantly, seen here dispatching the foul
marine back to hell.
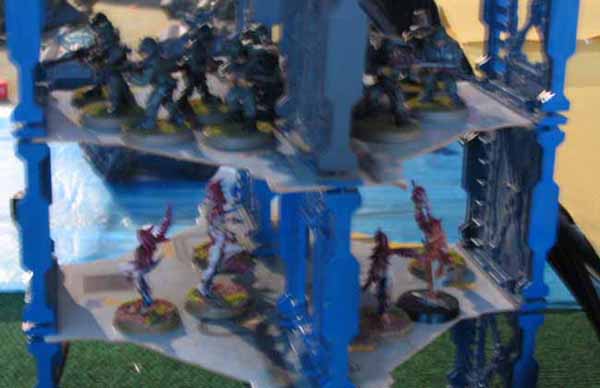
Though the Keep was about to fall, men of 5th platoon fight on. Here,
the defenders of the 1st floor has been wiped out after a
second daemon
pack charged up. The defenders on the floor above can be seen to
courageously continue providing supporting fire.
7th Panzer finally begins crossing the river. The bridge is blocked yet
again by a Chaos Rhino rushing madly forwards.
The panzergrenadiers on
foot were forced to disembark after their Rhino was immobilized by the
last Plague Marine rearguard.
After heavy fire from XXX Corps failed to destroy the Chaos Rhino, it
was left to lascannons from 5th Platoon to take it out.
Captain Acker and Sgt Kempfer were last seen vainly trying to stop the
foul Nurgle abomination.
5th platoon finally falls, having been in the fight from the very
beginning.
Too
little. Too late.
A Demolisher from 7th Panzer finally crosses the Arnhemum bridge.
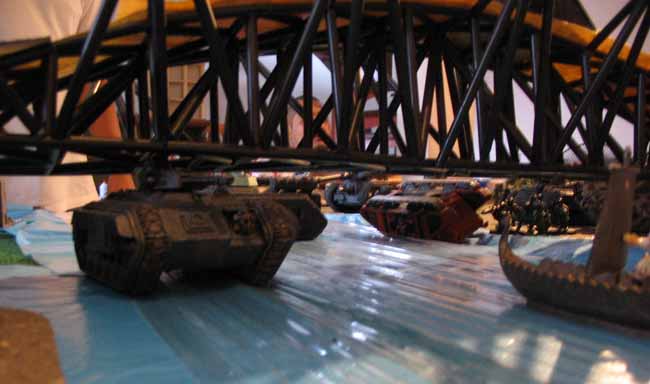
7th Panzer Chimera and panzergrenadier finally arrive at the far bank.
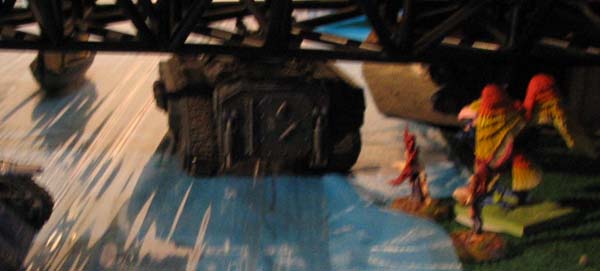
For the lead panzergrenadier squad, all is not well as Slaanesh daemons
prepare to assault their APC.
The lead Chimera goes up in a ball of fire as daemons rip it apart,
killing all inside.
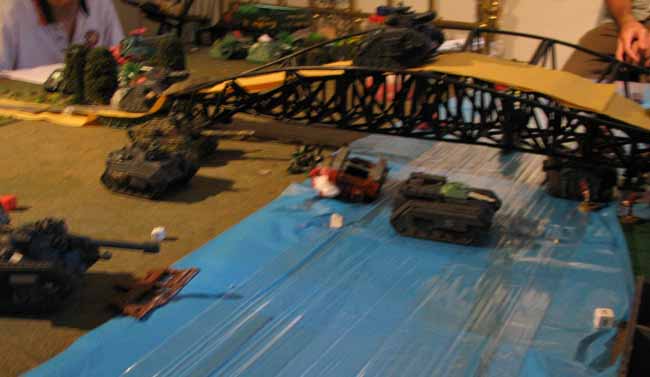
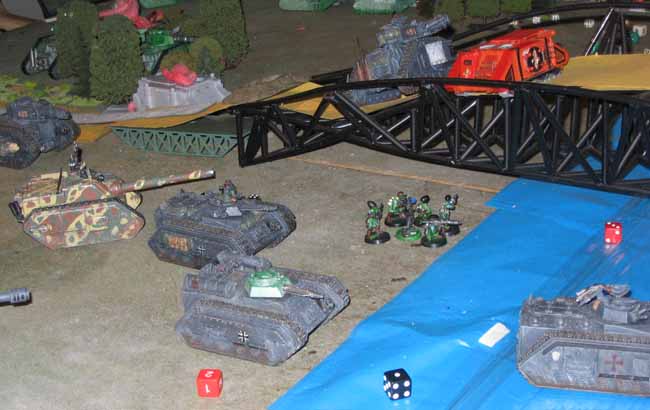
Scene at the end of the battle. Despite all its armored might, this is
the extent of XXX Corps' advance.
Another shot at the end of the battle. Though 7th Panzer's losses were
small, the delay caused by Chaos armored
flanking attacks was enough to
stop them fulfilling their mission.
In the end, it was a mere pack of daemons that won the objective for
Chaos.